Grow your chicken herd by learning how to incubate eggs. Here you will find step by step instructions, so you have success your first try!

The process of egg to a little chick is so fun, easy and rewarding. Being able to make your own instead of buying them can really help cut down costs, especially depending on the breed of chickens you have.
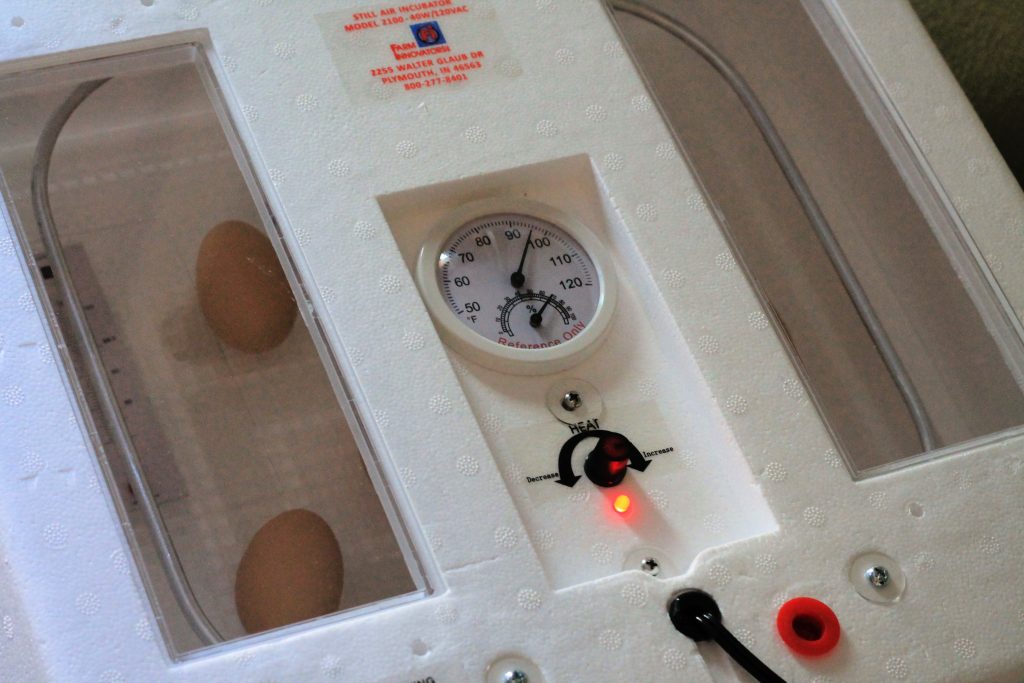
I use a very simple still air incubator. I don’t like relying on technology to turn the eggs. It takes a few seconds to do on your anyways so why not just keep that part in your control. Another great perk of still air incubators is they are much more affordable. $50 is about how much you can expect one to cost.
There are directions in the box that you should follow when setting it up. I didn’t realize you needed to have the incubator itself in a place that was a constant temperature and not drafty. It makes sense I just hadn’t thought about it. I have mine in my bedroom for those reasons. Not the most ideal location but we have a small house with no space rooms and one where my little kids won’t mess with it. It works though!
In about 21 days you can have yourself a baby chicken. It’s a pretty fast process which I think is my favorite part. Those 3 weeks just fly by. Before you know it, you have an incubator full of adorable chickens that you can add to your chicken family.
The Process
- Find a spot for your incubator that has a constant temperature around 70 degrees and isn’t drafty.
- Sterilize incubator and set it to 99.5 degrees.
- Add enough water to get to 55% to 60% humidity.
- Retrieve fertilized eggs.
- Clean eggs.
- Mark one side with a sharpie with an X.
- Put eggs in incubator.
- Turn eggs twice a day, morning and night.
- On day 14, candle the eggs. Ones that are not fertilized, discard.
- On day 19, stop turning them.
- Also on day 19, increased humidity to 65%.
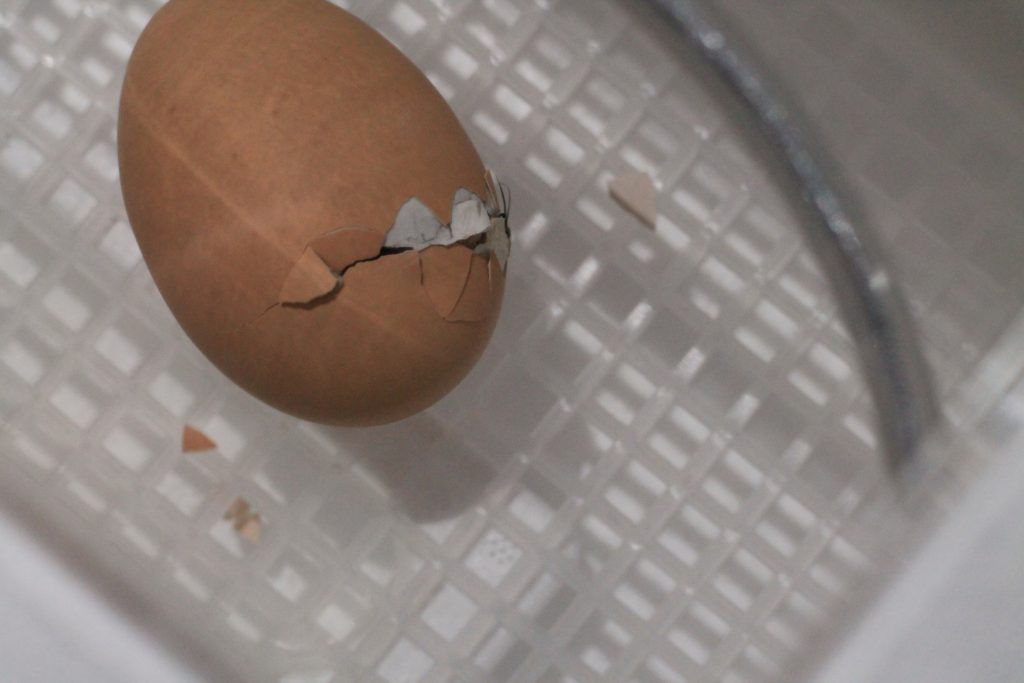
- Chicks will peep inside the egg. They are getting ready to hatch.
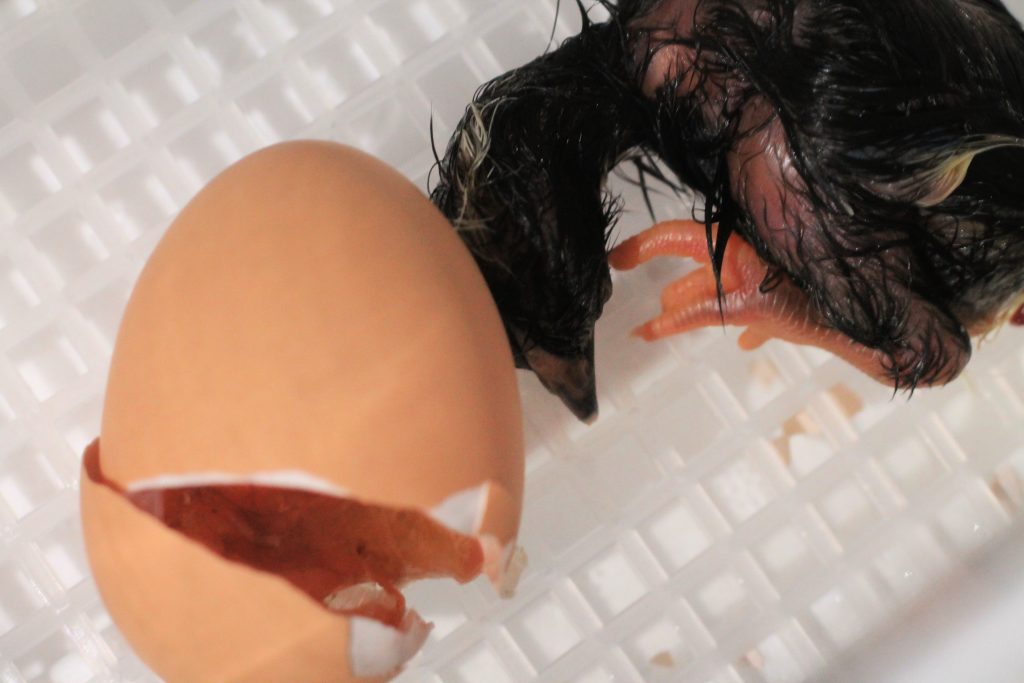
- Once they start to hatch, typically on day 21, do not open the incubator. They need the constant warm temperature and humidity to hatch.
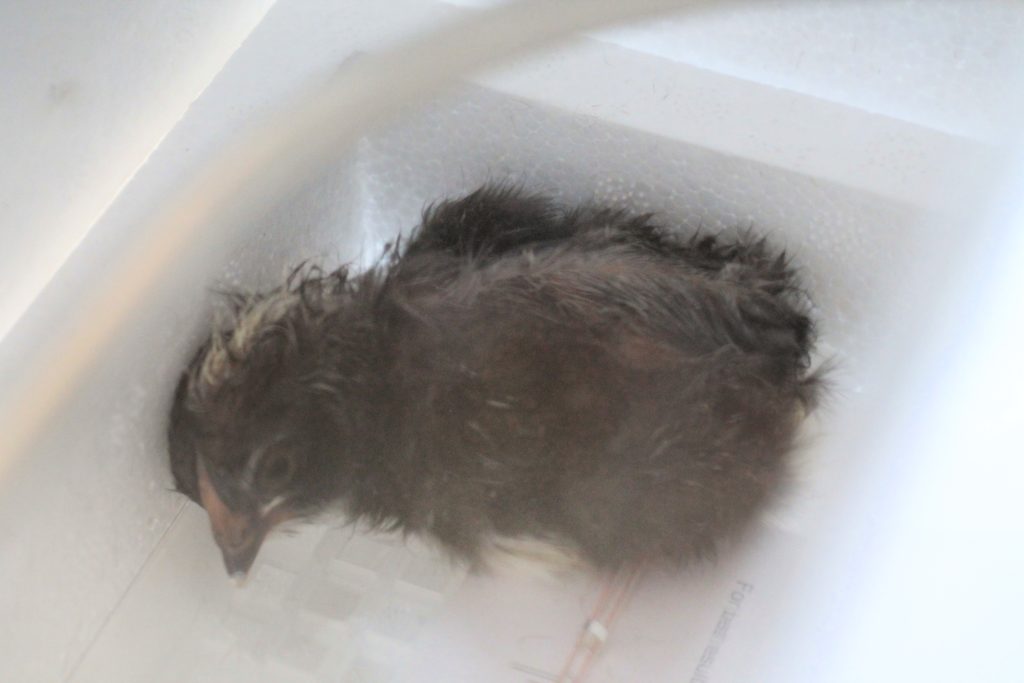
- Once all chicks have hatched. Leave them in there until they have completely dried and remove the red plugs from the incubator lid.
- Once all are dry, transfer them to a brooder. Get them chicken start and water. Dip their beaks in the water.


It seems like there are a lot of steps and it’s complicated but it’s not once you try it. Once you get the eggs in the incubator the following steps are very quick to fulfill. One of my favorite steps is candling the eggs. This means you hold a flashlight near the egg to see the contents inside. This is how you can tell if your egg was fertilized or not. A non-fertilized egg you will be able to light up the whole egg. A fertilized egg you will see the veins and the chick will make the egg look dark. You won’t be able to light it up.
My first round ever of incubating I only did 4 eggs and only 1 ended up being fertilized. I was so nervous it wouldn’t work, or I had done something wrong. Around midnight on day 20 that lone egg went from peeping inside its shell to being hatched within 2 hours. I couldn’t believe how fast the process happened. It’s totally normal for it to take much longer than that.
This to me showed that there is some room for error because I didn’t quit turning that egg until the day before it hatched and didn’t amp up the humidity either because I thought it would be hatching the next day. Thankfully it didn’t harm nor hinder the chick at all. It is a very healthy chicken now. So, if you are worried about messing something up or forgetting what day you are on, don’t fret.

Leave a Reply